To the best of my current knowledge, Brother KR321 is the second ribber in the series (the first one is the ribber for Brother KH212-KH218 knitting machines). Thus, Brother was still figuring out how to construct a user-friendly ribber for hobbyists.
I was a proud owner of a Brother KR321 ribber, that I tested in conjunction with the Brother KH521 knitting machine. Read my blog post on it and watch a video.
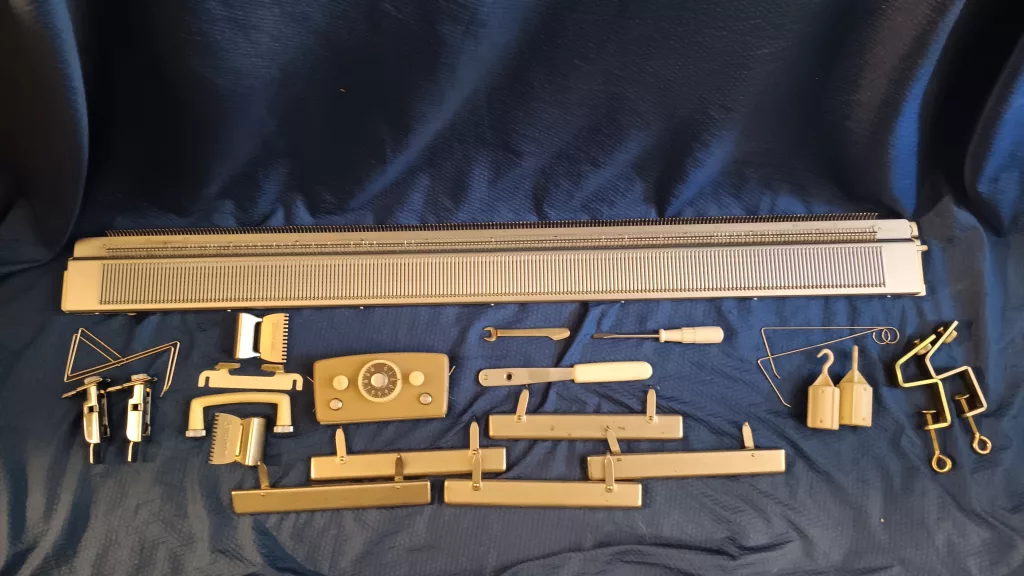
So far, I discovered the following about the Brother KR321 ribber:
Besides Brother KH521, Brother KR321 would also match the Brother KH511 knitting machine. I am not sure yet if Brother KH531 will be compatible with the KR321 ribber. But KR321 will not work with Brother KH551, KH550, KH500, and all 8-pushbutton Brother knitting machines (see a bit more on that below).
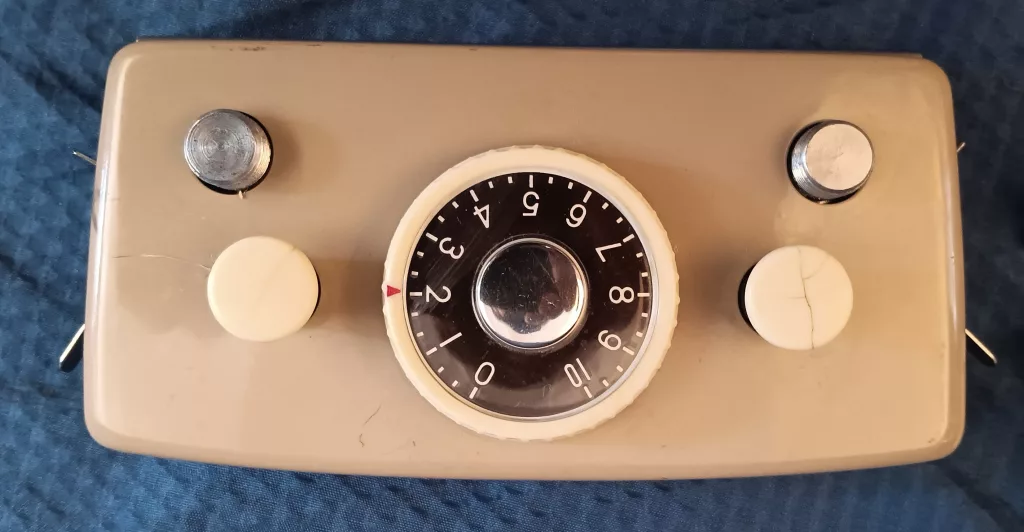
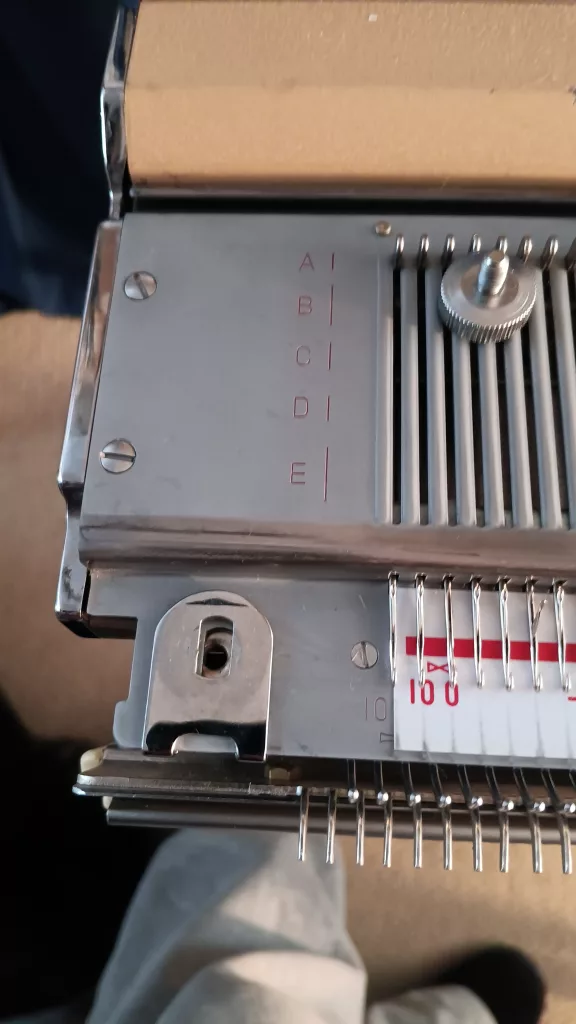
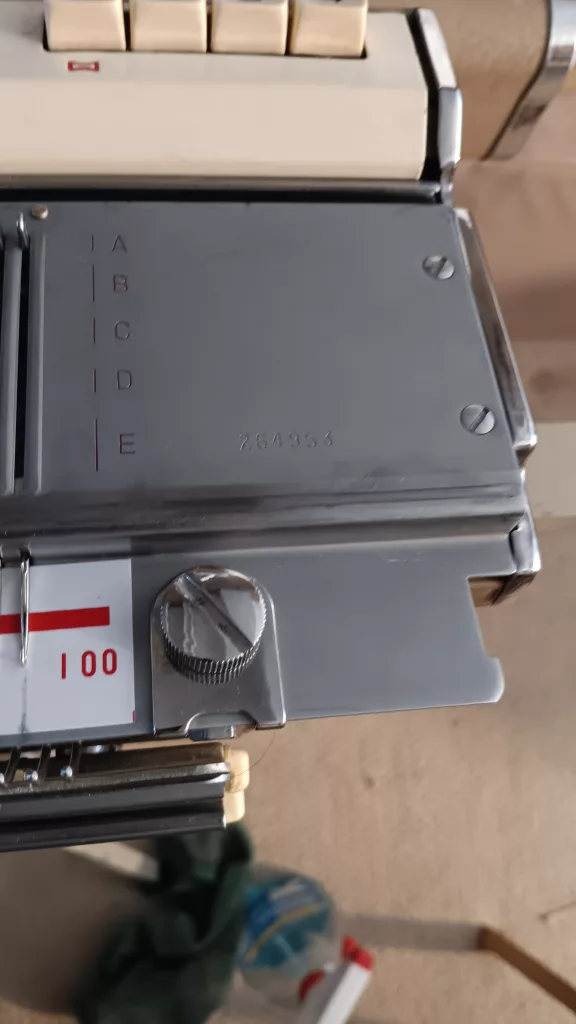
The carriage is small and very simple. The tension dial rotates in a very unusual way: the ring with the arrow rotates, but the dial itself remains stationary (unlike later ribber models).

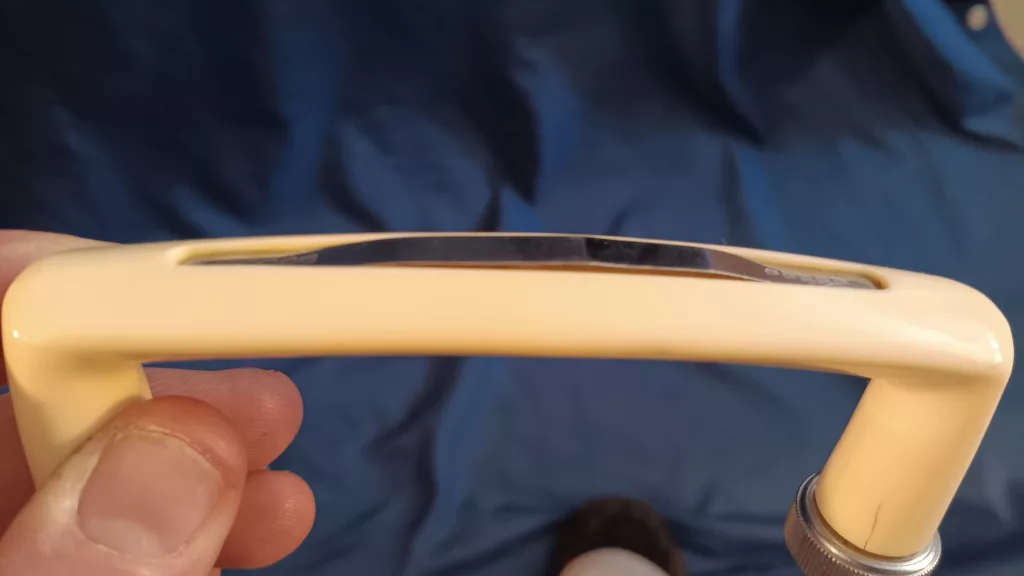
The handle screws onto the carriage, typical for most models of machines and ribbers from the 1950s and 1960s.
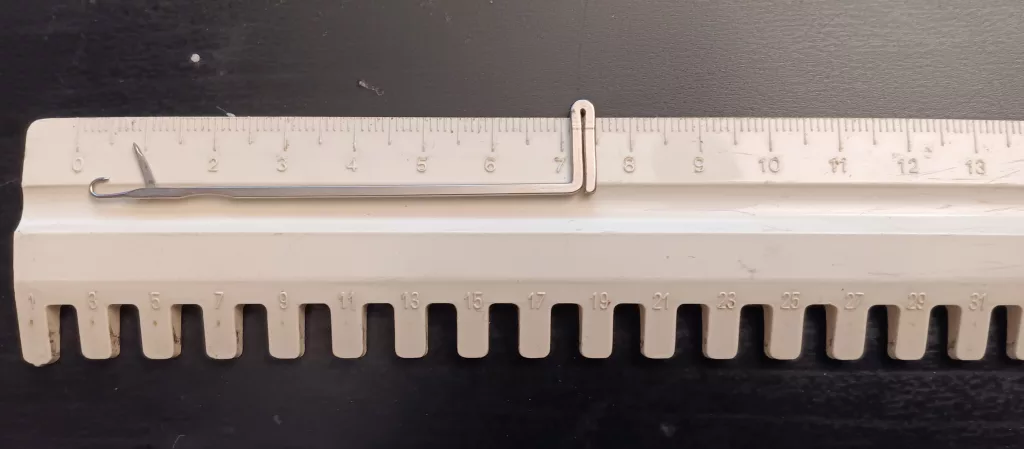
Needles for the Brother KR321 ribber are very short and 7.1 mm end-to-end long. They look like needles for Passap machines: no needle “tail” after the needle “butt”. The concaveness on the side opposite to the latch (typical for ribbers). Watch a video on how to remove and insert these needles from/into the ribber.
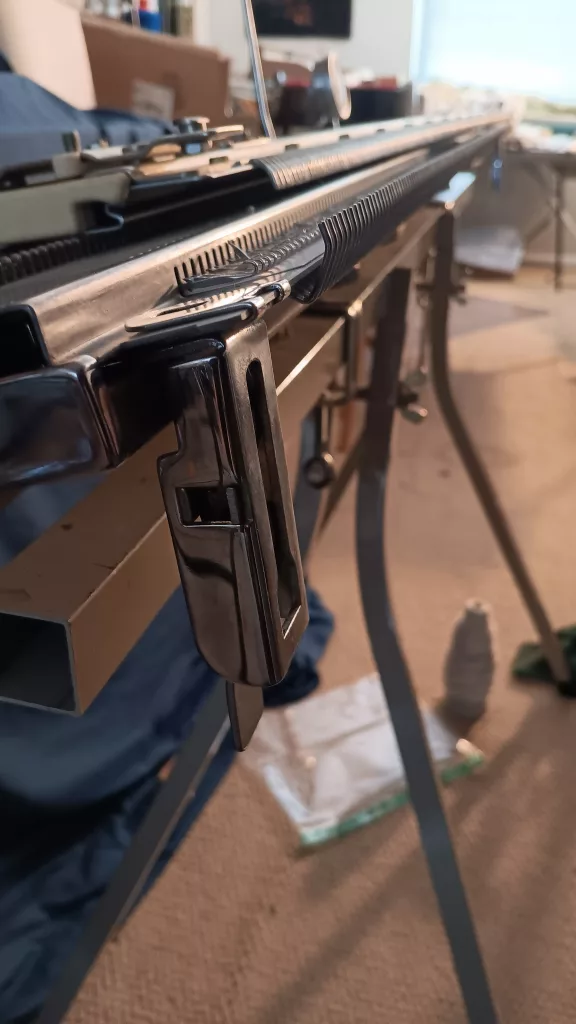
The retaining bar is narrow and requires a sponge strip. The metal part of the retaining bar is 99 cm long, 5 mm tall, and 6 mm wide (on the outside). I got a 5 mm wide spongy weather strip and inserted it into the retaining bar. I inserted it first and then removed the sticky paper on the top half.
The ribber will work with KH511 and KH521 machines. I do not know how wide the carriage for the Brother KH531 machine is. So, I think if the Brother KH551 is coupled with the carriages from KH511 and/or KH521, this Brother KR321 ribber will work with those setups.
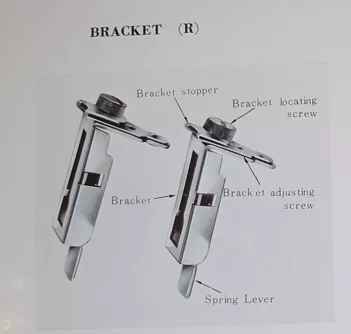
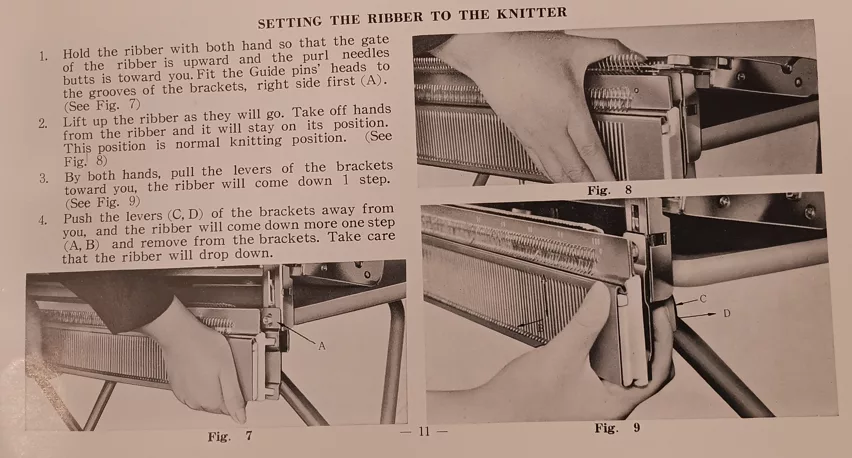
Setting up the ribber is pretty straightforward. Brackets are first inserted into the main bed, then screwed on top and then the ribber bed is inserted.
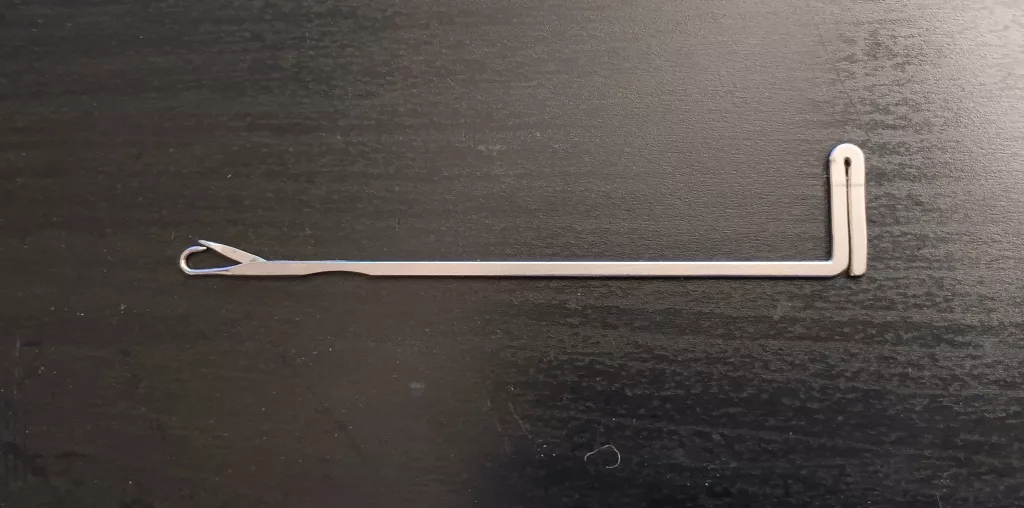
I recommend inserting the racking lever before connecting the beds.

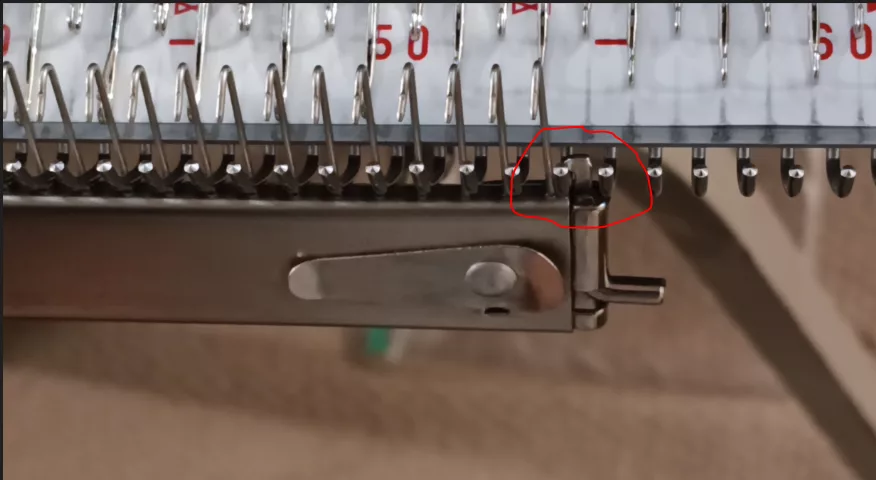
The cast-on procedure is pretty simple and can even be used for other ribbers. It involves knitting one row on every other needle on the main bed first (watch a video I created). Then, attaching a cast-on comb for the main bed (the one with teeth sticking out; not the one with the wire) to the formed stitches, knitting 20 rows, and then pushing the ribber up close to the main bed. These steps are shown in my video. The cast-on comb can be attached with the teeth facing you (by turning the small latch on the side so it grabs the last peg) or by putting the “teeth” into the formed stitches, similar to a typical “cast-on comb on every-other-needle” method.
Several other useful tips for using Brother KR321 ribber:
- Make sure to check if the cast-on comb and the weights are not stuck on the table or machine stand: it’ll skew the tension and the stitches. During the first rows, check the weights and the combs regularly (I checked every 1-2 rows).
Pros and Cons:
PROS:
+ lightweight: easy to handle
+ easy to install/attach on/to the knitting bed
+ open frame connecting arm makes it very easy to thread the yarn
+ simple cast-on method
CONS:
– The original table clamps (that actually are from the machine, not from the ribber, unlike later ribber models) do not provide enough angle for a reliable and drop-stitch-free knitting and tension. I recommend using table clamps from the KR830 or KR850 ribbers. In fact, KR321 is the only ribber without additional table clamps. The next ribber mode, Brother KR531, already comes with those table clamps, which provide a better angle with the horizontal surface of the table or a machine stand.
– When knitting on the full bed, it is hard to insert the original wire hangers (those with the triangles on the lower end to attach the weights). I recommend using the wire hangers from later models (with the circle at the lower section of the hanger, where the weights attach).
– I personally would like to see slightly more friendly weights (barrel weights with hooks) instead of the original long weights. But those barrel weights can always be purchased.
Well, all these cons were actually taken into account because I see a lot of improvements in the very next ribber model: Brother KR531 (it, however, will not work with the machines that Brother KR321 is compatible with).