Last Updated on September 20, 2025 by KM-nerd
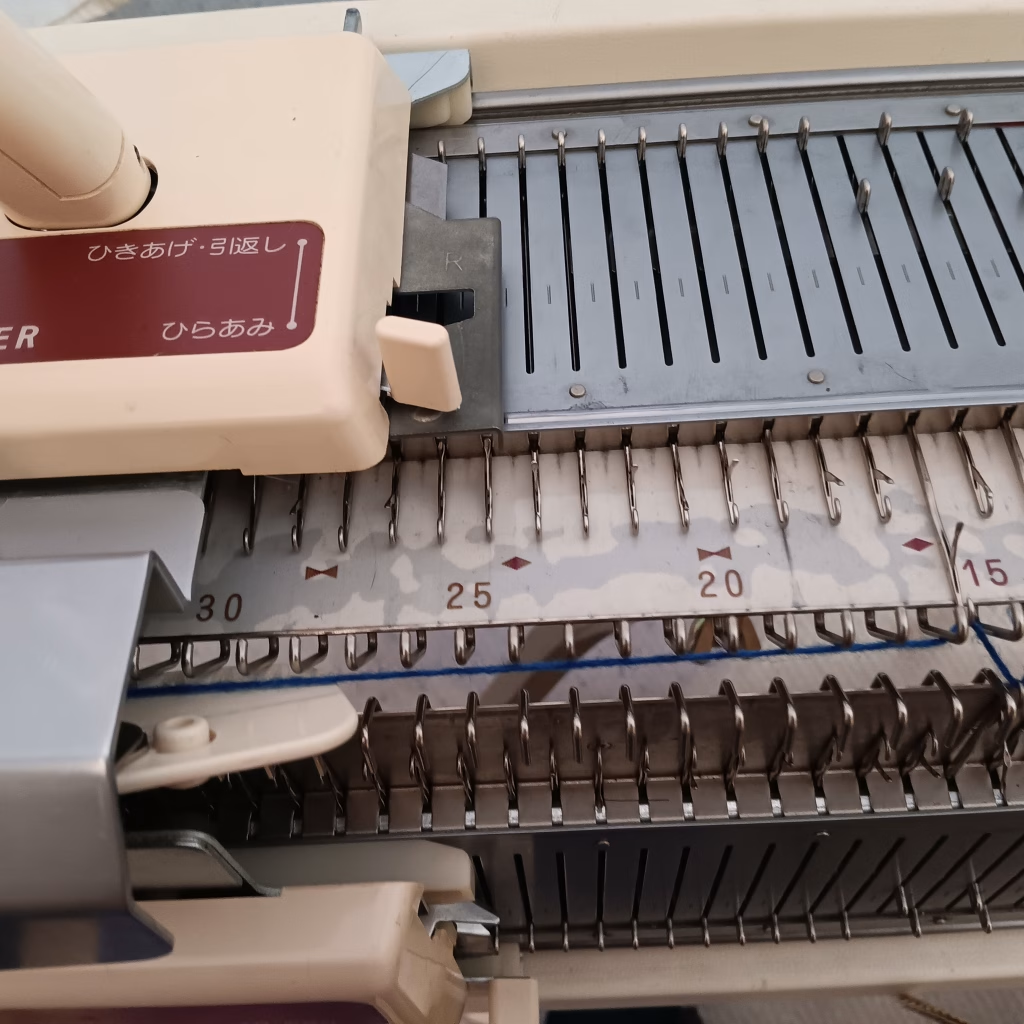
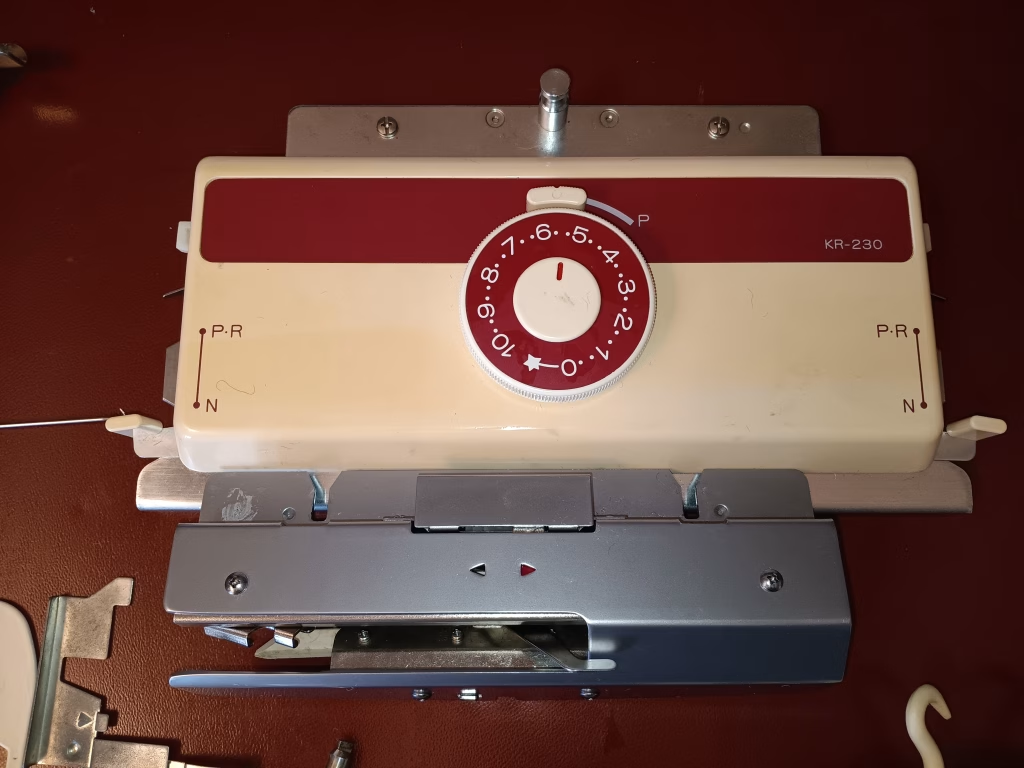
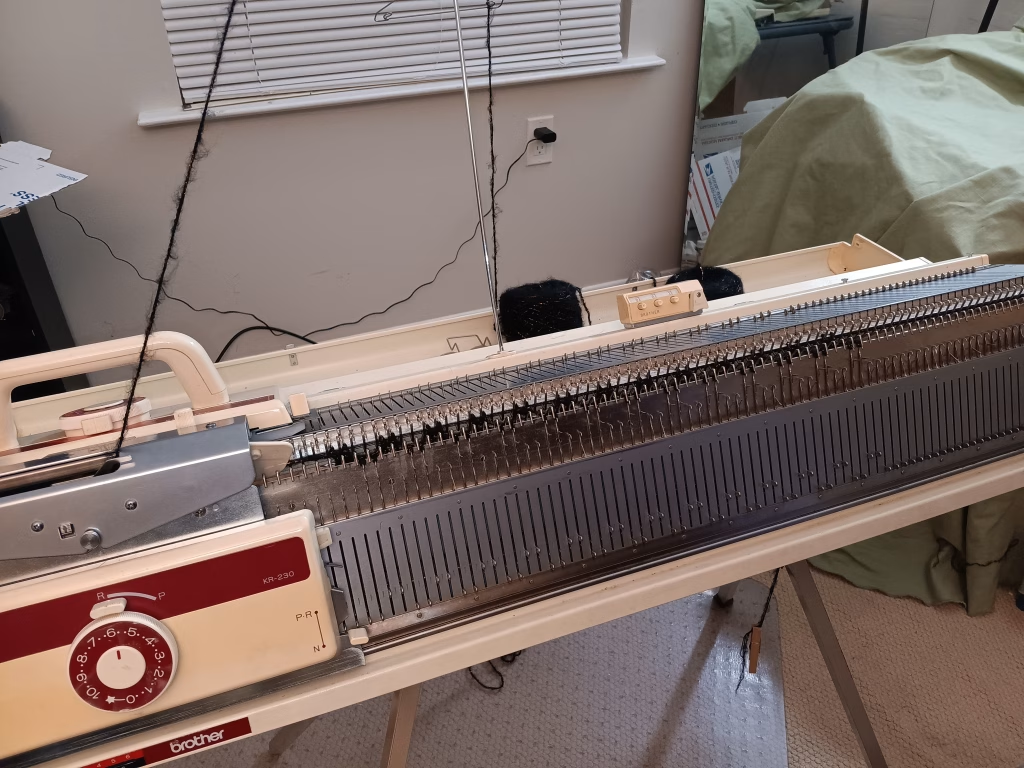
Brother KR230 ribbing attachment has 108 needles, 9 mm apart. KR230 ribber is compatible with only one machine – Brother KH230.

Bulky KH230 machine and its matching ribber appeared on the market in early 1980s. In fact, KR230 is the first bulky ribber manufactured by Brother, and it kinda shows: there are design flaws and some parts seems to be an afterthought (read below).
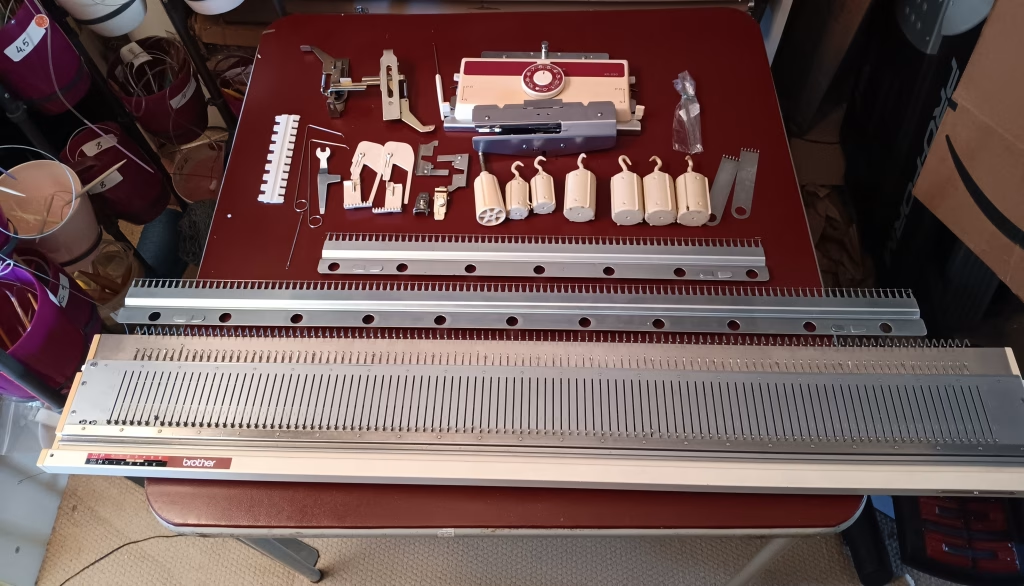
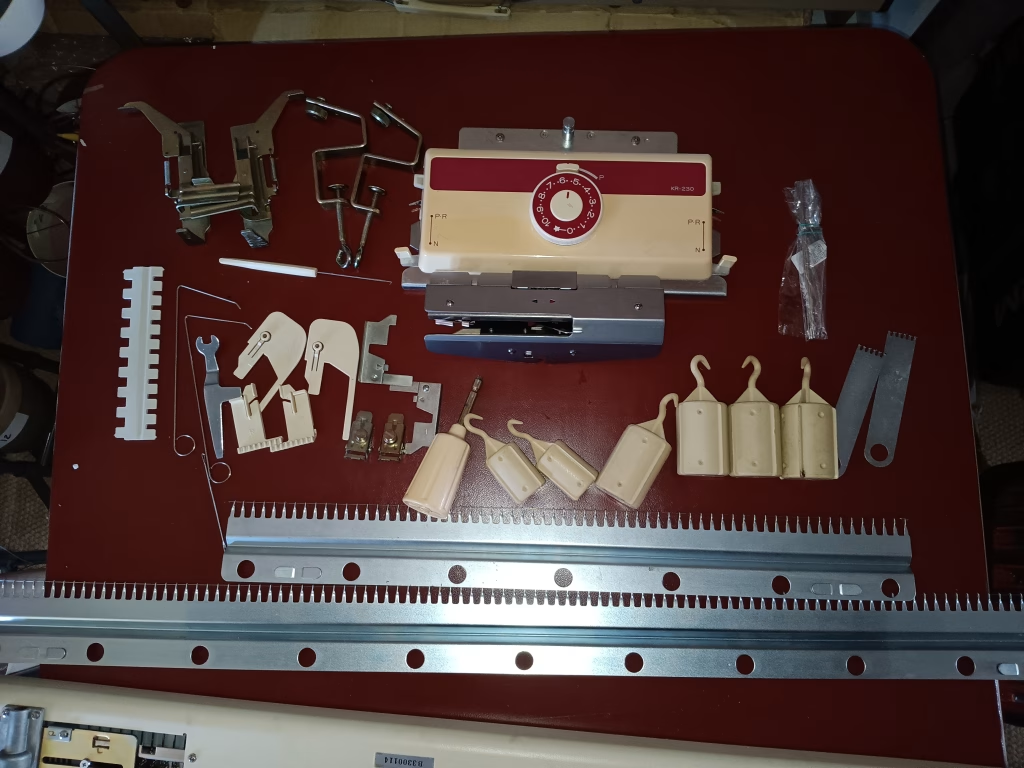
Unlike its later counterpart, Brother KR260, KR230 has a lot of add-on accessories, like pressers, needle stoppers, and extension racks. The needle bed of Brother KR230 is about 110 cm long (43 inches).
They kind of feel like an afterthought to alleviate some of the potential minor problems, like yarn catching etc.
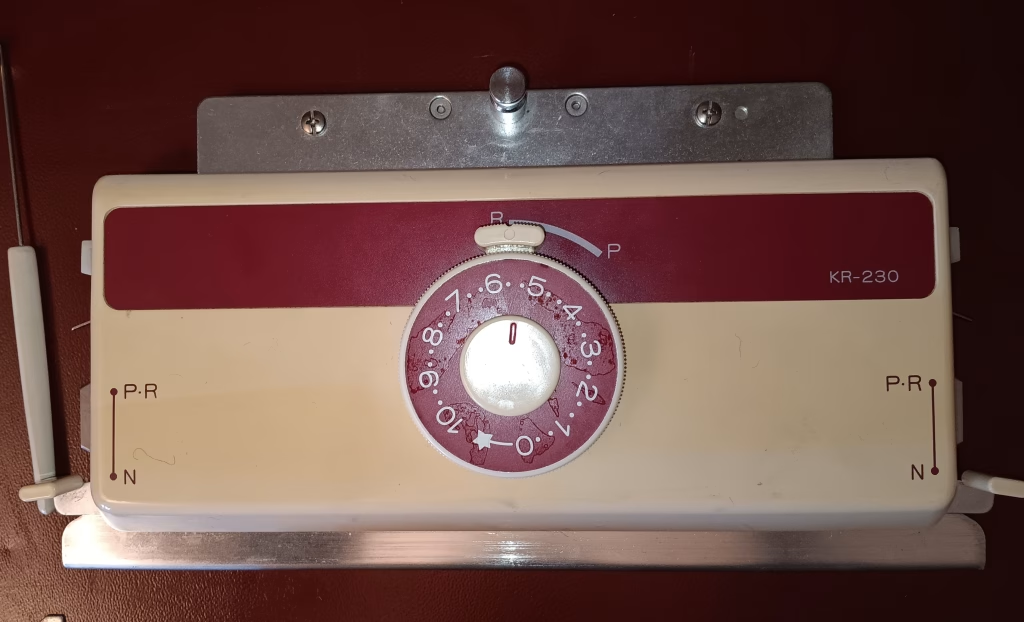
Knit leader setting plates for the ribber setup are slightly different than for the main bed: they are slightly bigger. Thus, if you are using the knit leader with your double-bed setup, make sure you use the correct knit leader setting plates.
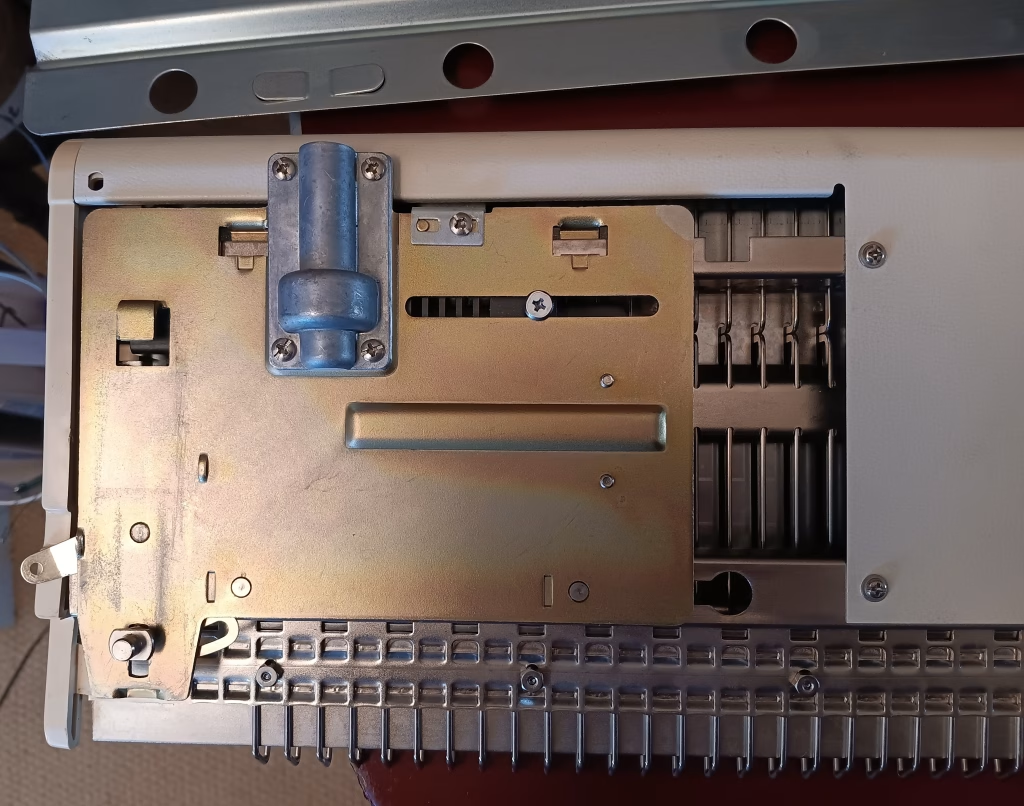
Pressers are inserted into the connecting arm and help to push the stitches down.
But they also get tangled quite often. In fact, one of the troubleshooting steps in the manual if the carriage gets stuck is to remove the pressers. The needle stoppers are supposed to stop the needles from jamming into the pressers but it is not always bulletproof.
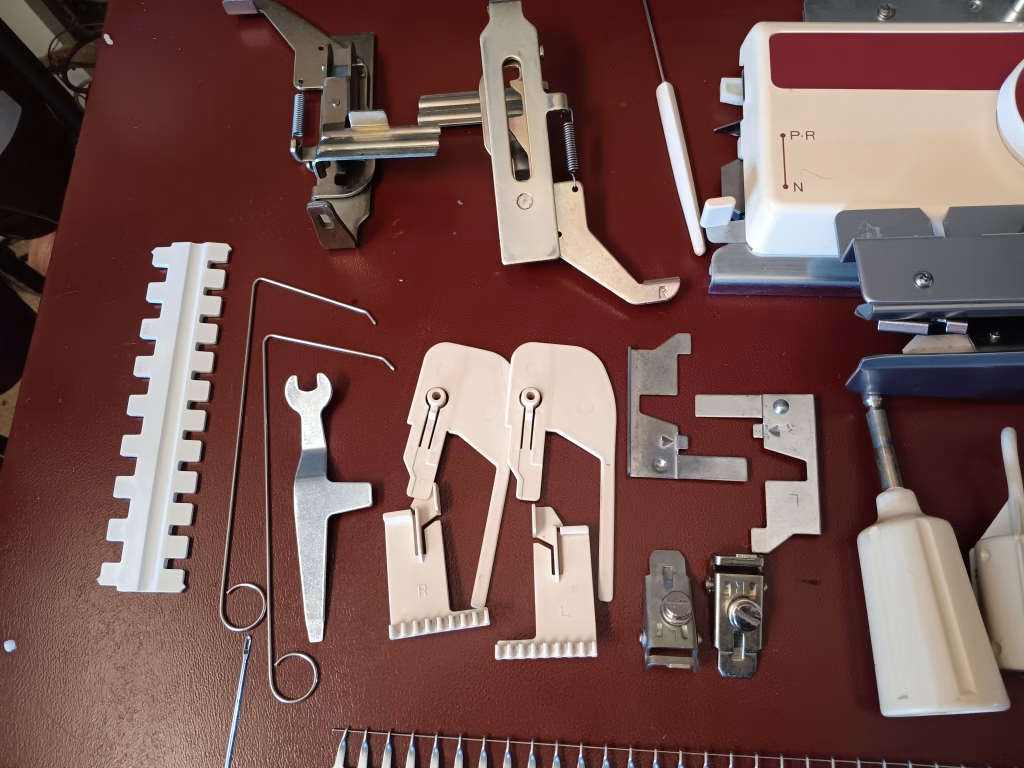
Despite the ribber needlebed being two needles shorter (Brother KH230 has 110 needles), plastic extension racks are recommended to install if more than 45 needles on each side (starting from zero position) are used.
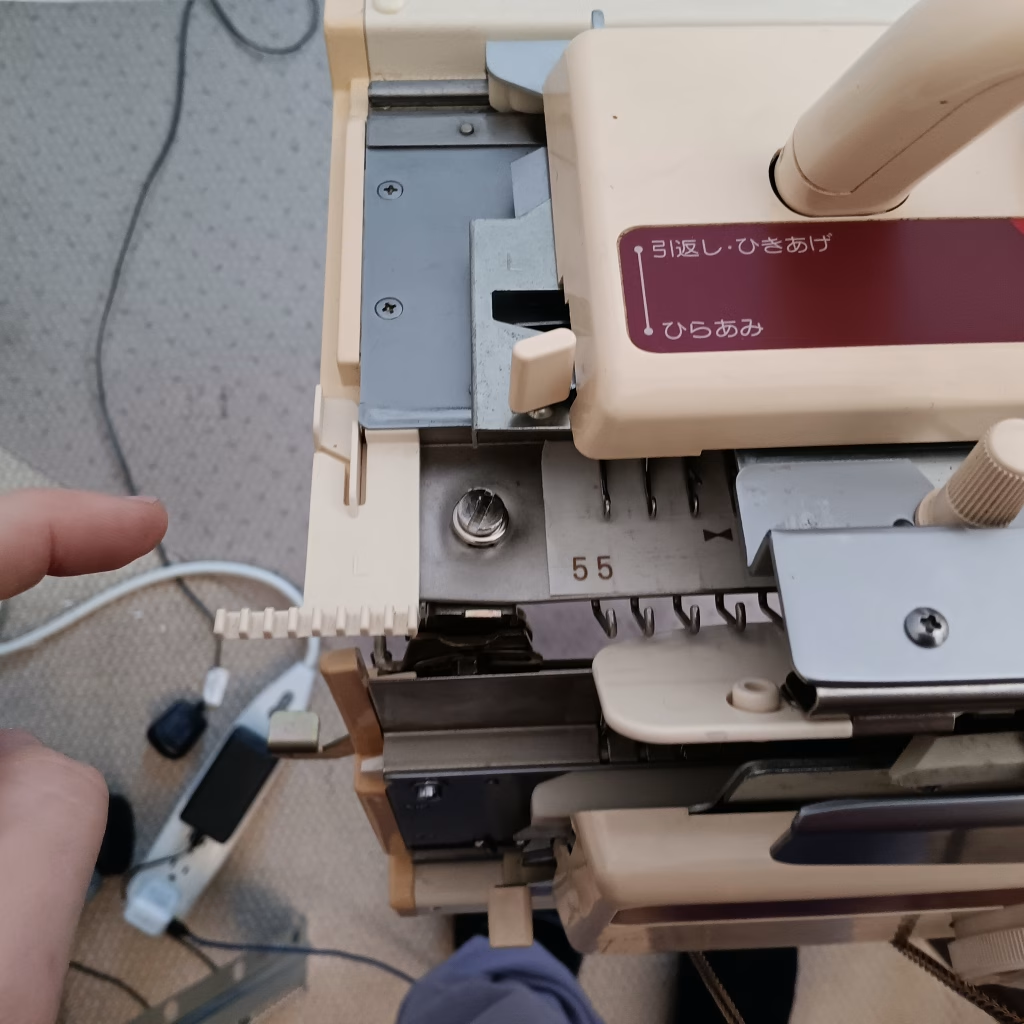
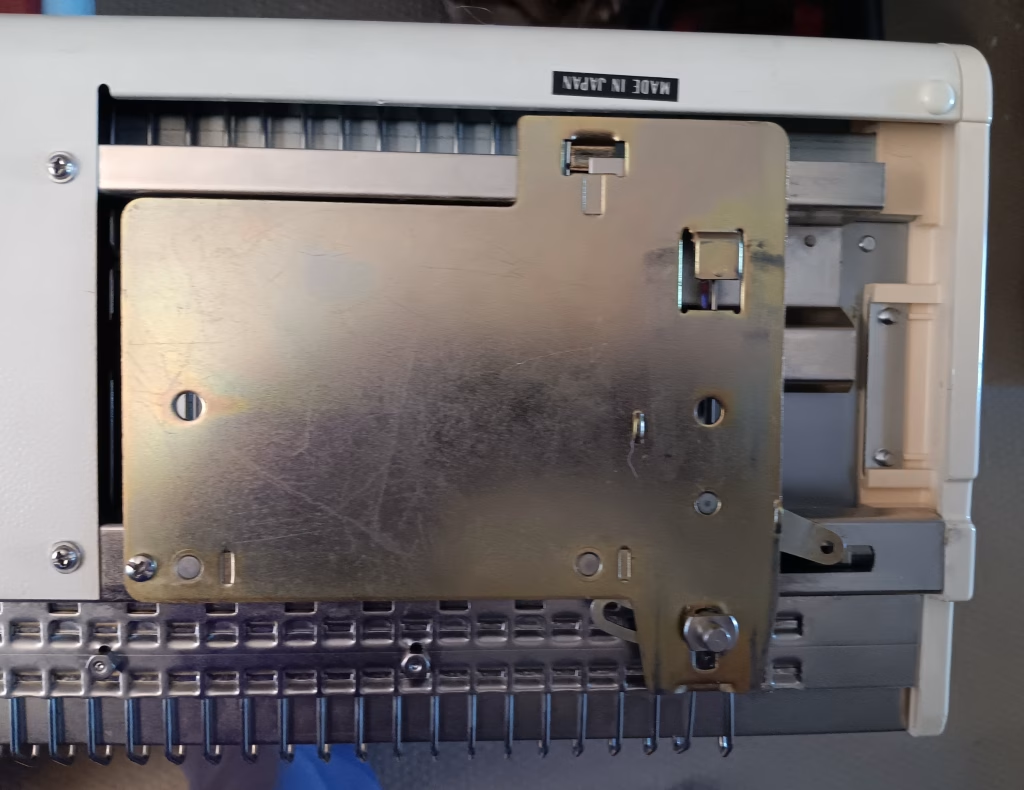
In fact, for the pressers to resume their working “down” position, I strongly recommend not to rush switching the direction of the carriage but stop slowly, let the pressers to settle and then move the carriage (first slowly) in the opposite direction while insuring that the direction indicator (red triangle on the connecting arm as shown below) changed its direction too.
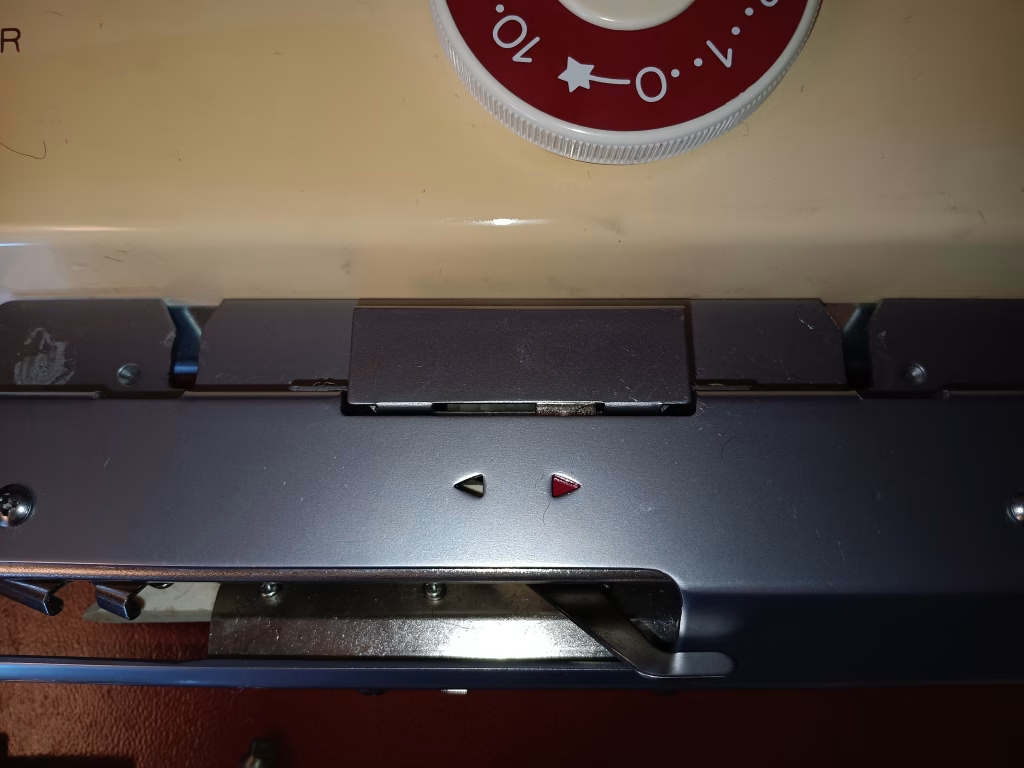
If it is not changing, it might need some additional oiling. Additionally, if it is not changing, the pressers will not assume their correct working position and might interfere with the knitting.
Check this function of the carriage attached to the connecting arm without any yarn first by moving the carriage left and right , left and then right again.
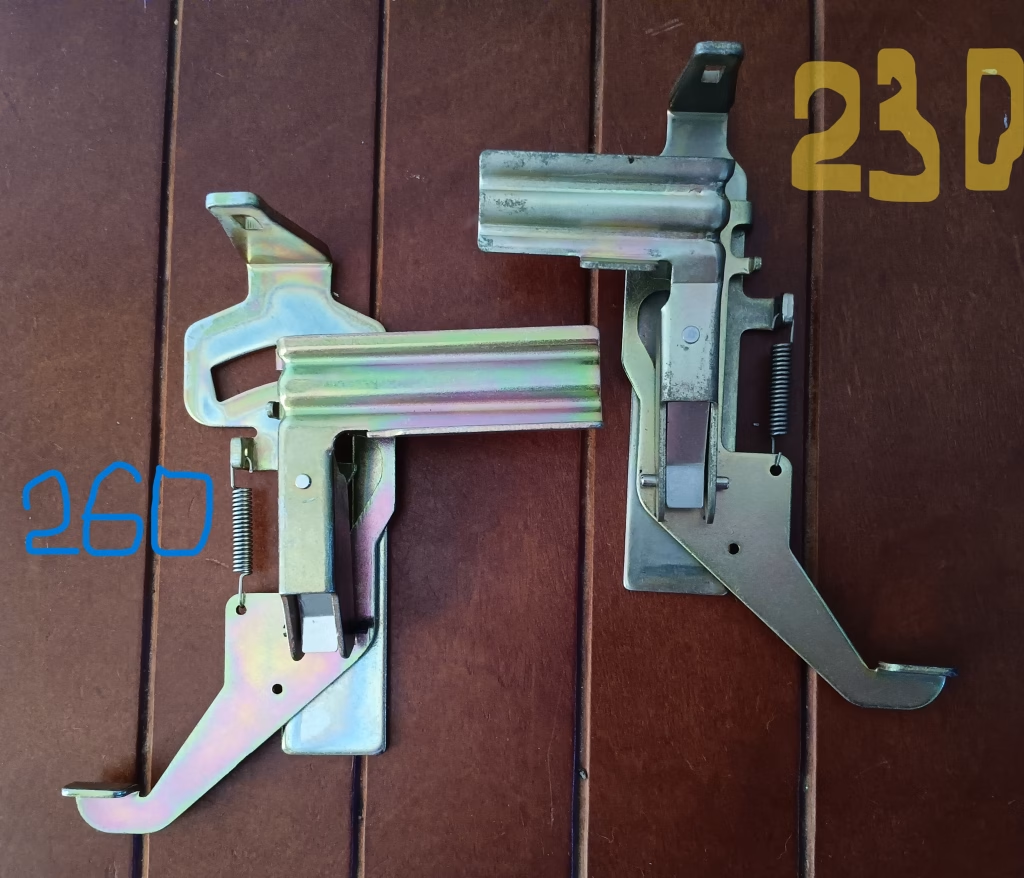
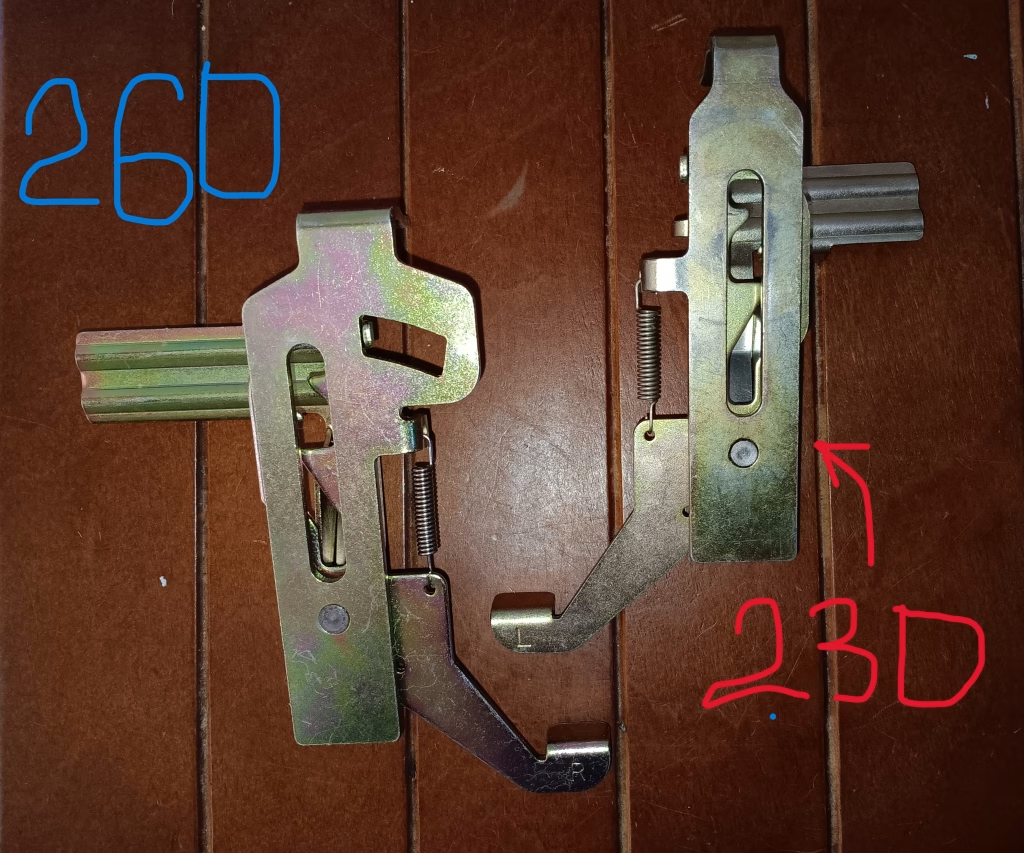
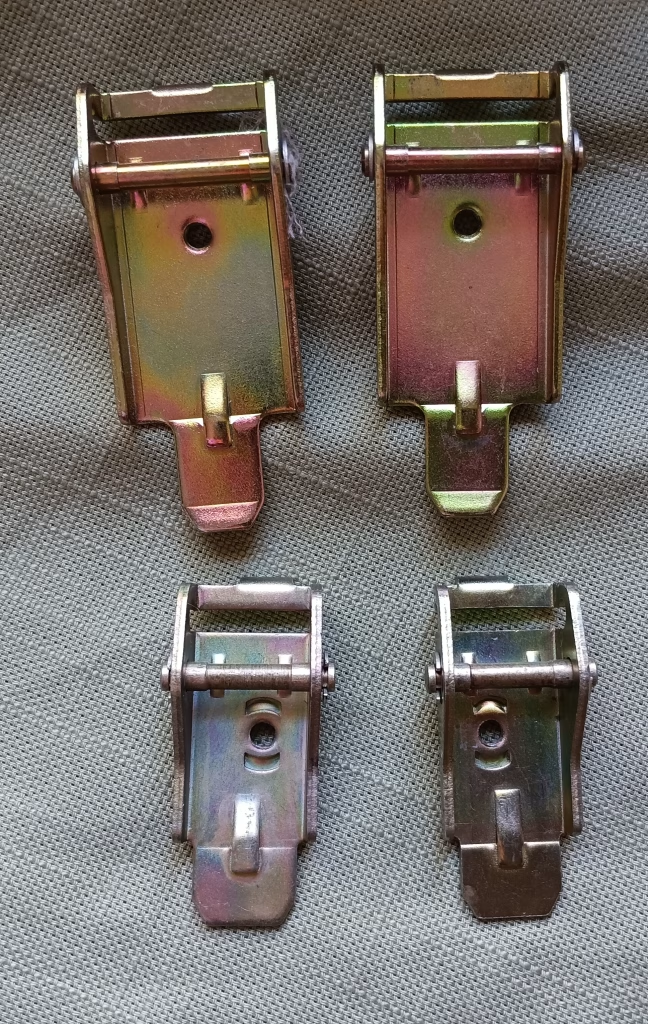
Side brackets for the Brother KR230 ribber are also unique and very distinct from the side brackets of Brother KR260.

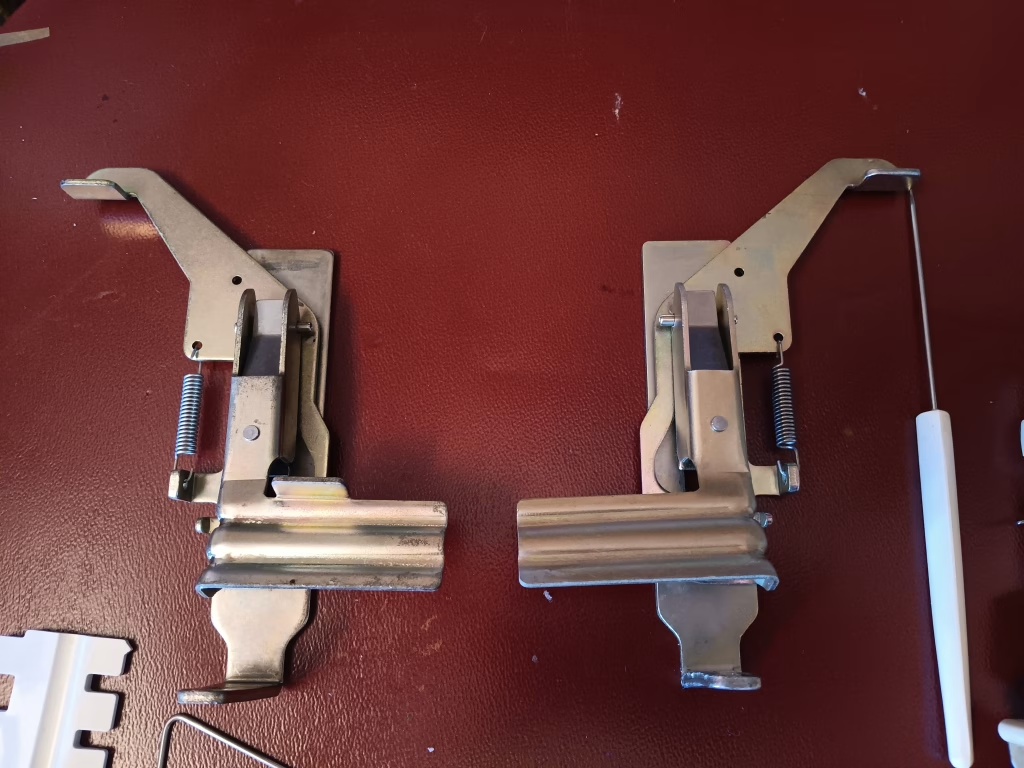
Below is a comparison between the side brackets for the KR260 and KR230.
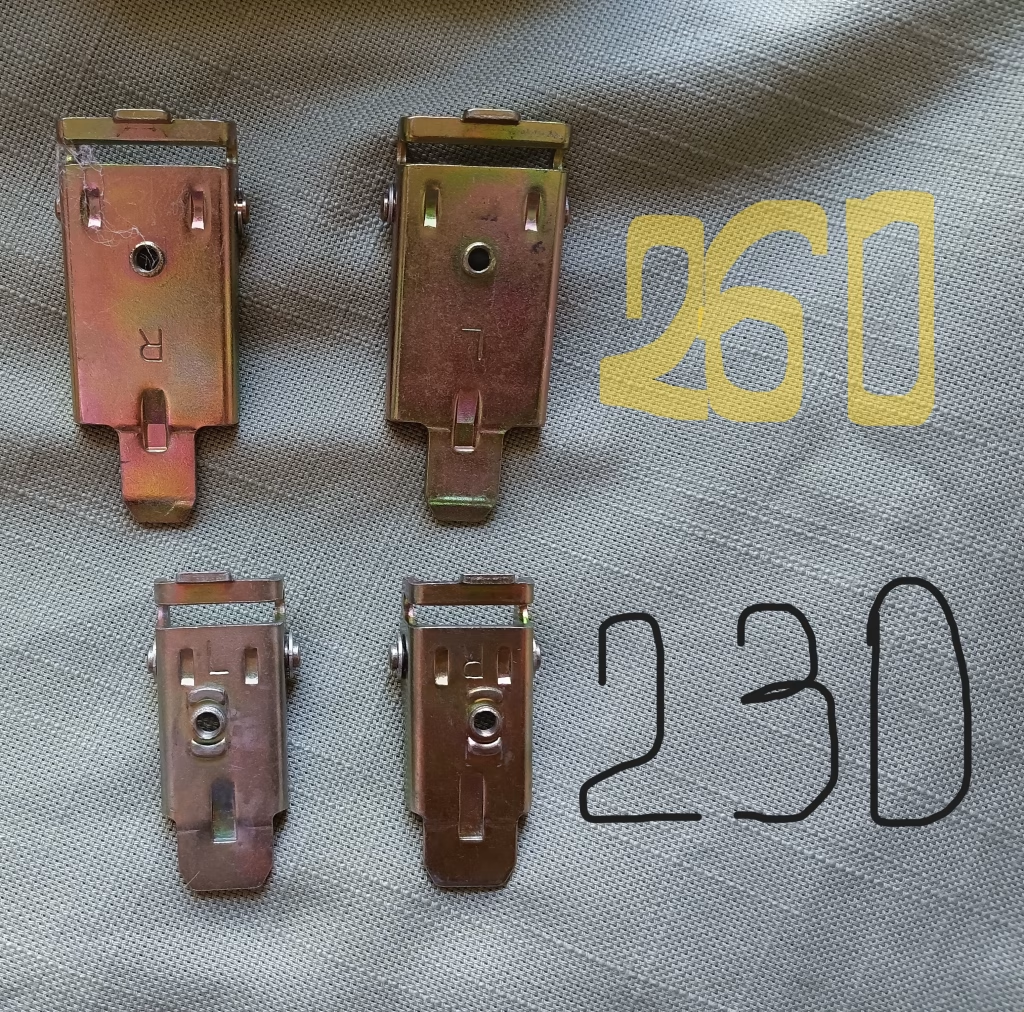
The setting plates for the KR230 are somewhat different as well: the screws are shifted away from the center while in the setting plates for the KR260 ribber they are centered.
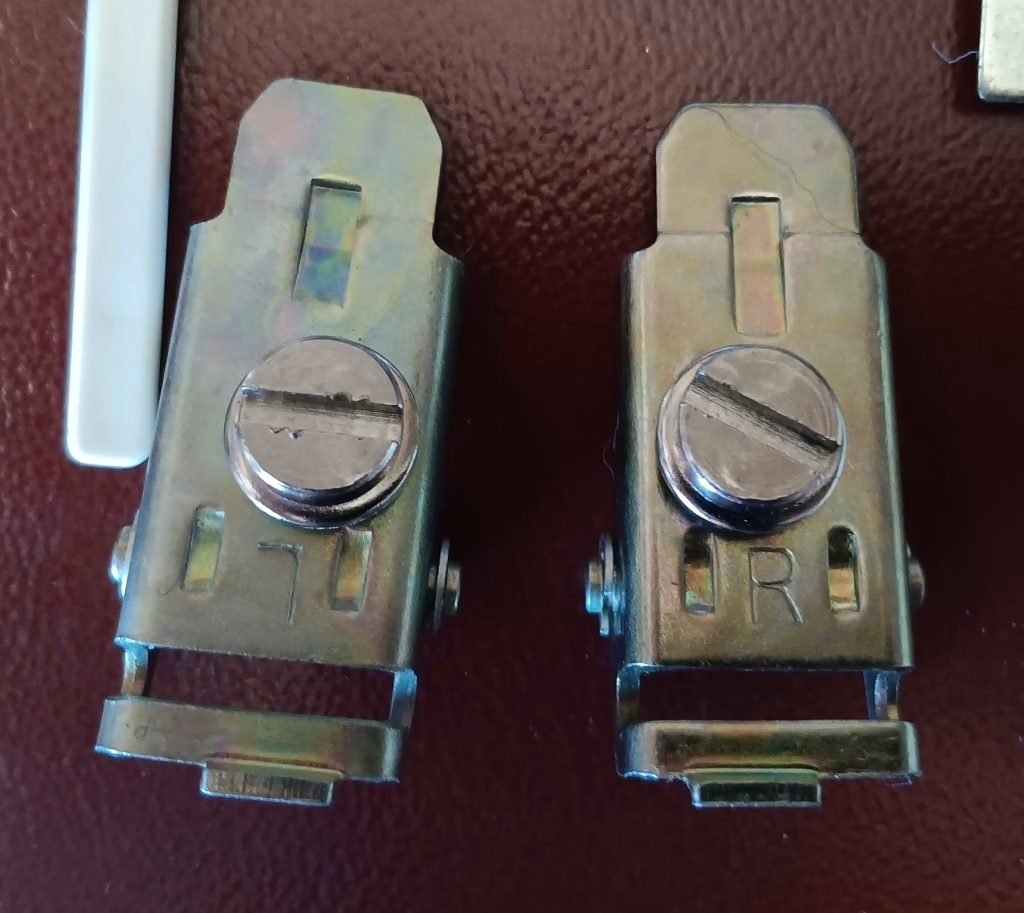
Below is a side-by-side comparison.
Since I had a pleasure to work with this ribber (and documented that work in my written and video blogs), I feel I can judge first hand all pros and cons of this accessory. So, here are they:
PROS:
- Brother KR230 is a very robust and simple ribber.
- It is very easy and straightforward to attach it to the main bed
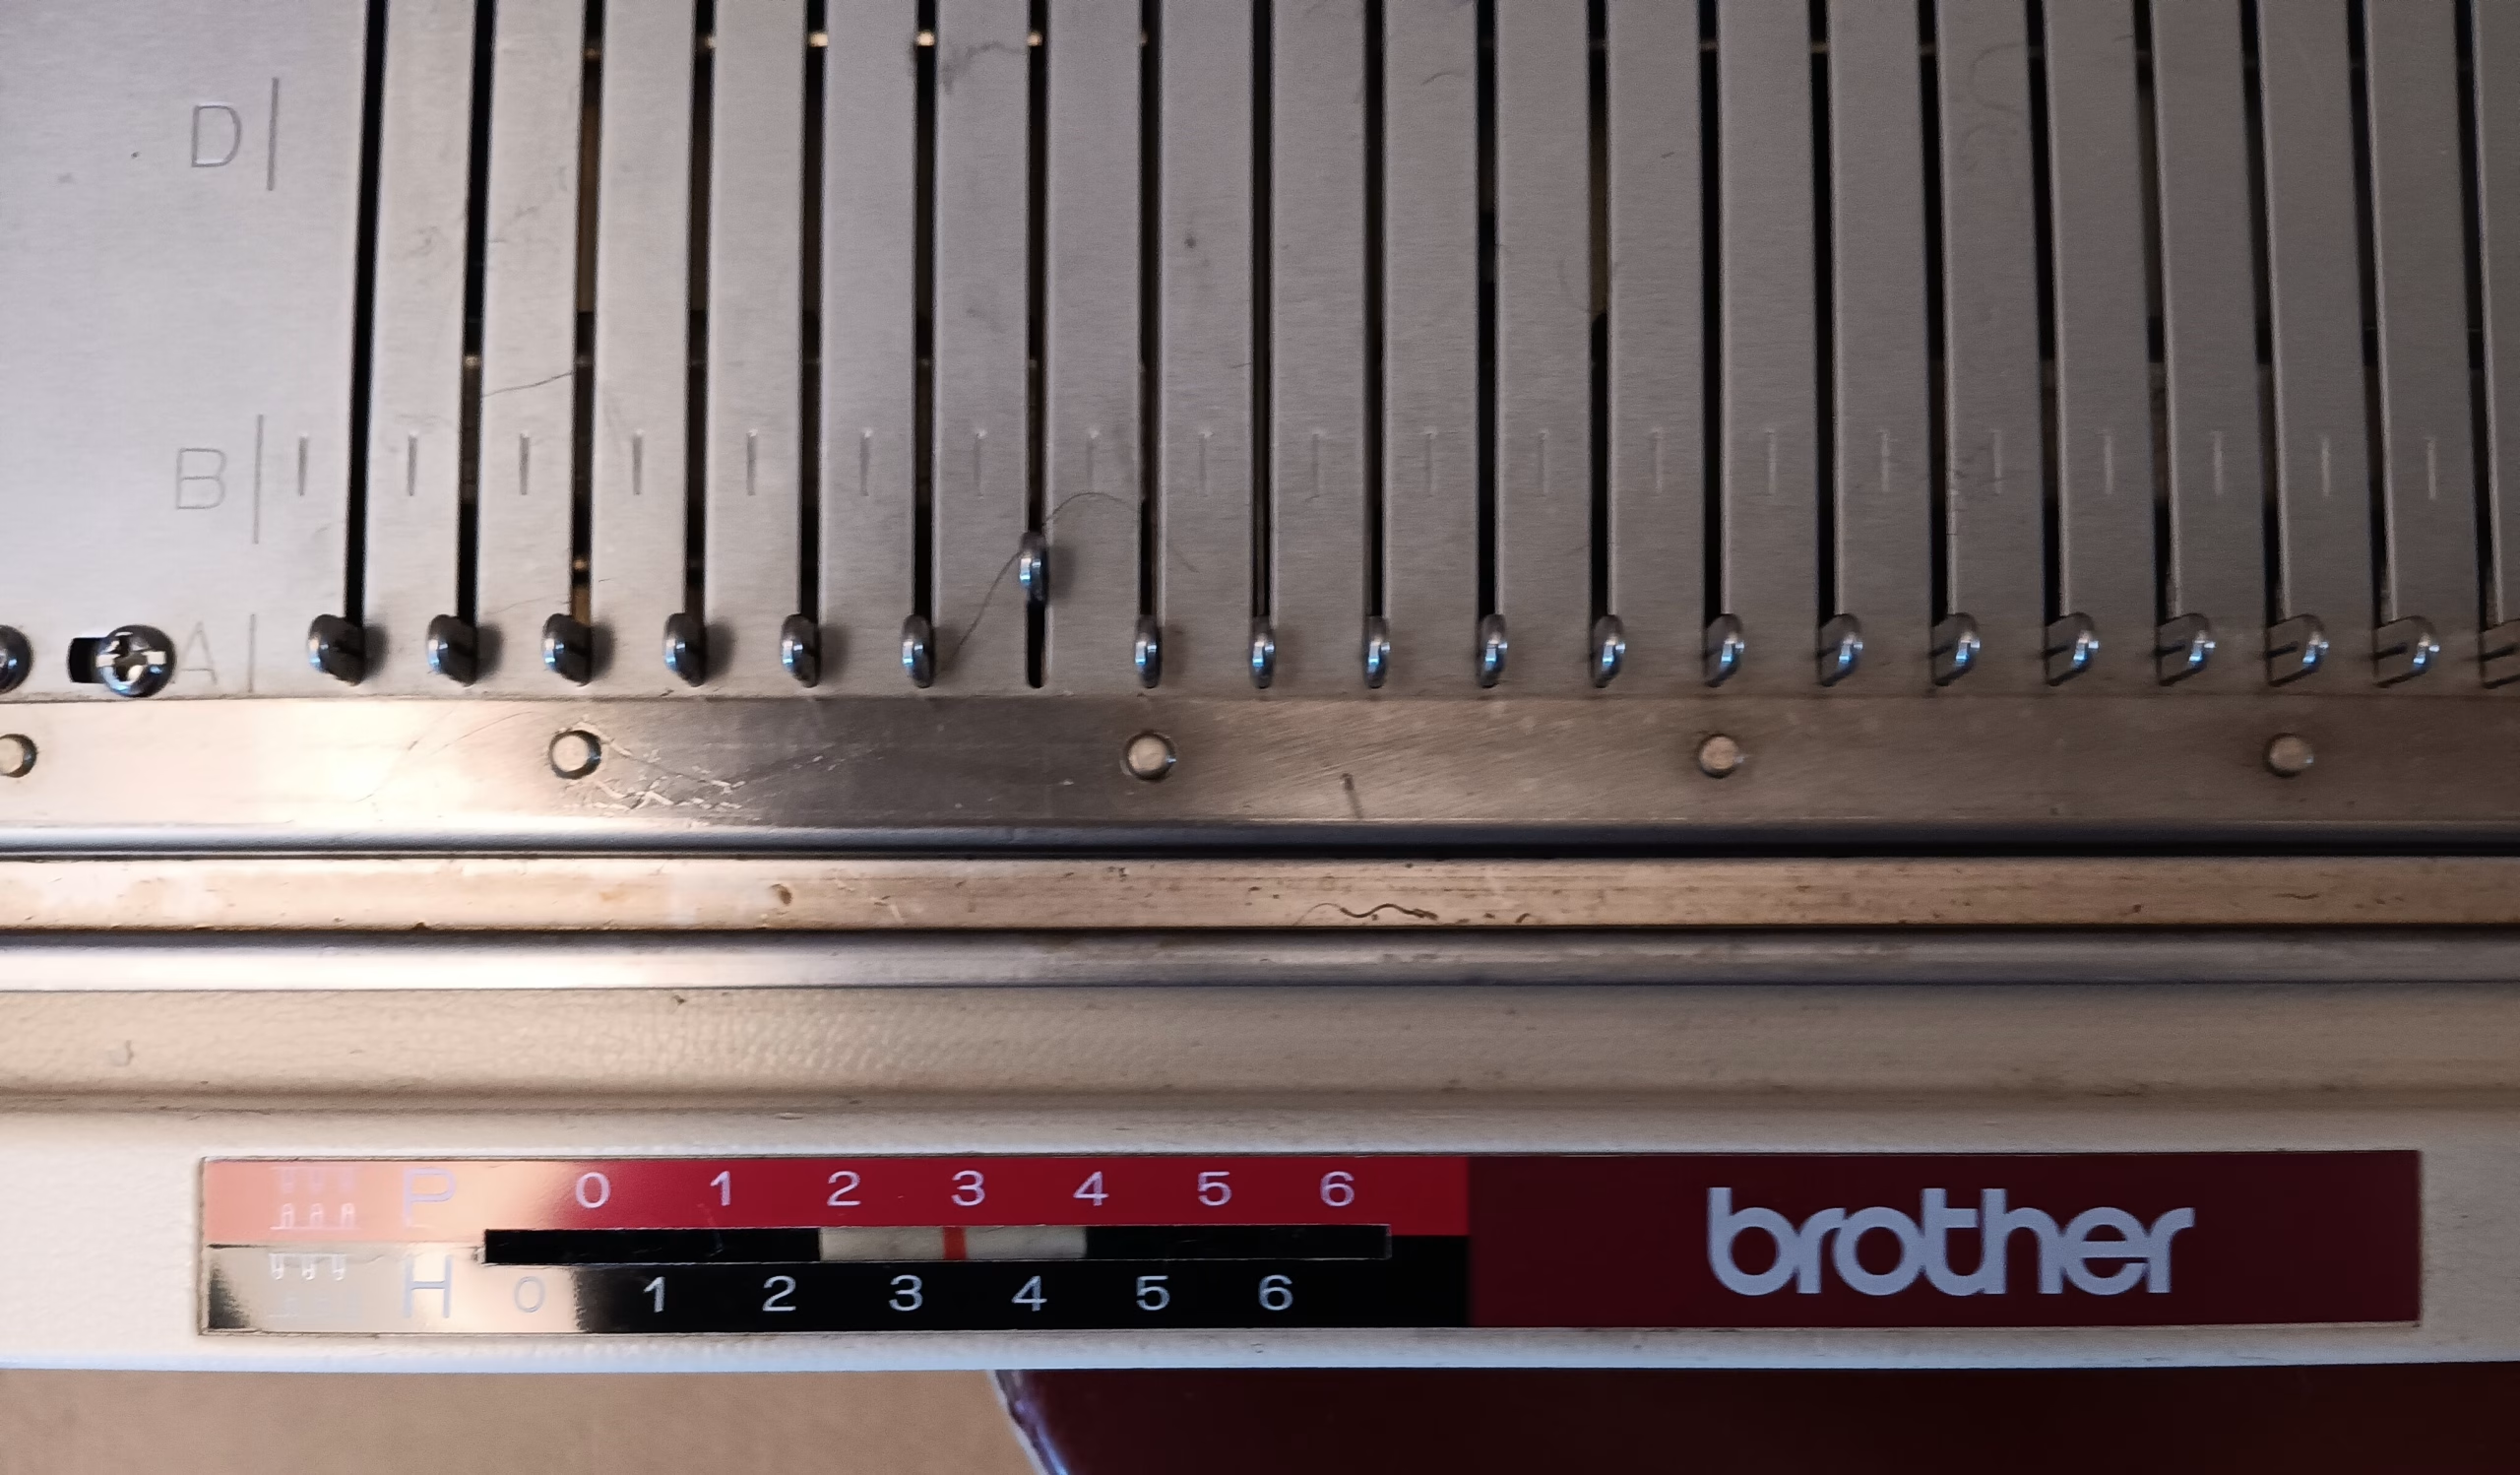
- I like how there are markings on the needle bed to indicate the working position.
- Needles are the same size and shape as the needles for the main bed (KH230). Thus, they are interchangible.
- The ribber needlebed has less needles than the main bed, which allows for a gap to insert the edge weights without probems.
- Replacements parts and accesories are still available as the Chinese manufacturer Creative still makes similar machines.
CONS:
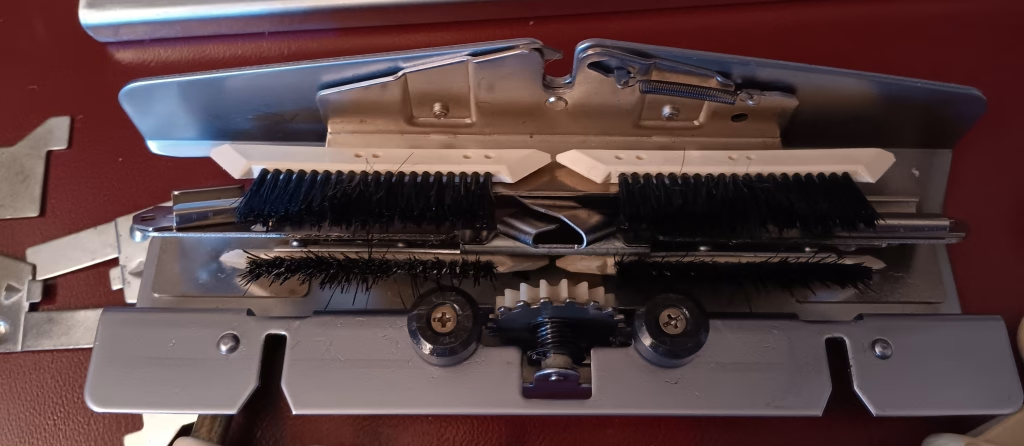
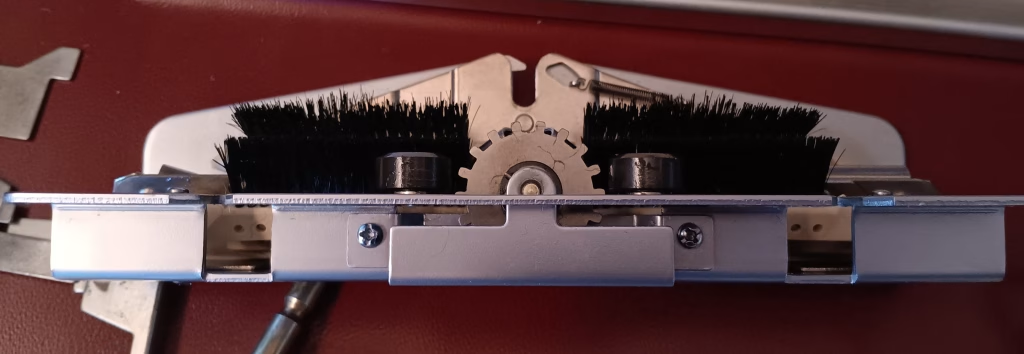
- I found that the double carriage assembly moves somewhat harder than on standard machines. Maybe due to that metal wheel in the middle of the connecting arm.
- Brother KR230 ribber fits only one machine: Brother KH230 (which is typical for bulky machine/ribber combo: for instance, KR260 fits only two machines: punchcard KH260 and electronic KH270).
- I found that all these extra minor attachments (pressers, plates, etc.) were a bit too many and sometimes got in the way. But without them there are problems too.
- Since KR230 ribber as not as readily available as KR260 ribbers, it took some getting used to the position of its levers and dials on the carriage.
Last but not least, only the memo on the original box shows how to pack the machine. Here it is below. Very detailed!

Overall, I tremendously enjoyed working on the KH230/KR230 combo. I used several thick yarns (watch the video of my tests) and did not have a lot of problems with it (besides the usual ones related to choosing the correct tension).